Automating Malware Deobfuscation with Binary Ninja

Introduction
Binary Ninja is a powerhouse reverse engineering suite that provides a plethora of functionality that is useful when reverse engineering malware. It has a robust Python API for interacting with abstractions (semantic representations) generated by their multiple levels of Binary Ninja Intermediate Languages (BNILs). These abstractions result in large simplifications of disassembled instructions into intrinsic functions and high level languages that can be accessed directly and easily, which we will be leveraging throughout this workshop. This workshop will use Binary Ninja to acquire information needed to deobfuscate and extract a Qakbot sample from its packed form.
Setup
For the Binary Ninja components of this workshop, you will need a personal, commercial or enterprise version of Binary Ninja. This will give you access to the Python API that we will be using to extract information from the Binary Ninja database. In addition to Binary Ninja, we will be using two Python modules to extract a resource from the packed binary (https://github.com/erocarrera/pefile) and carve embedded Portable Executables (https://github.com/binref/refinery). To add these modules in Binary Ninja, perform the following steps:
- Press CMD/CTRL+P to open the command palette and type in “Install python3 module”, which will highlight this command within the command palette window, as shown in Figure 1.
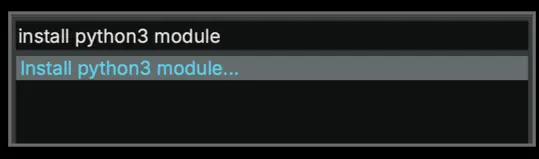 Figure 1. Install Python 3 Module Palette Option
 - Press Enter to bring up the Install python3 modules window, as shown in Figure 2.
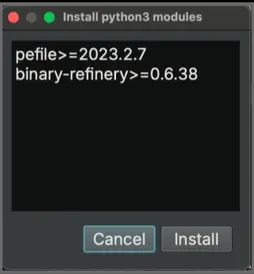 Figure 2. Modules Window
 - Enter the following modules and press install:
1
2
   pefile>=2023.2.7
   binary-refinery>=0.6.38
This will install these dependencies in your Binary Ninja Python directory.
Plugin Install
We will be using a plugin called Snippets to visualize and execute the automation scripts that we will be writing. To install this plugin, navigate to the plugin manager by clicking on the Plugins->Manage Plugins menu item. This will open a new Manage Plugins tab, as shown in Figure 3.  Figure 3. Plugin Manager
In the search box type in Snippet UI Plugin. Once displayed, right click the Snippet UI Entry and click on Install Plugin, as shown in Figure 4.
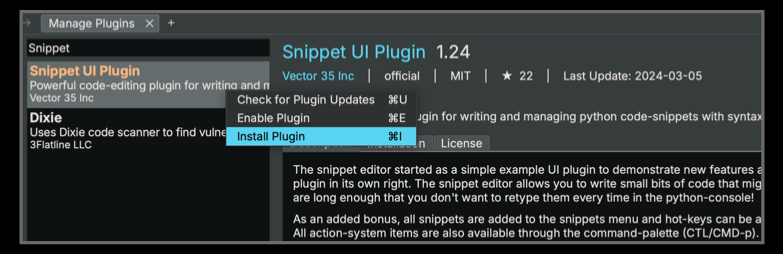 Figure 4. Snippet UI Plugin Installation
In addition to the Snippet plugin, install the HashDB plugin written by Cindy Xiao.
We will be dealing with real malware samples. We will not be executing these, but if your system has antivirus it may pick up the packed or unpacked samples in these exercises. Please proceed with caution if you are using your host system.
Now that all required dependencies and plugins are installed, clone the workshop repository from GitHub using git clone https://github.com/Invoke-RE/workshops. This repository contains the baseline automation scripts and samples that we will be using throughout this workshop under recon2024. Unzip the samples.zip with the password “infected” and open 780be7a70ce3567ef268f6c768fc5a3d2510310c603bf481ebffd65e4fe95ff3 in Binary Ninja using File->Open… and selecting it from the file explorer dialogue.
HLIL and Scripting with Binary Ninja
Once the sample has been loaded and processed by Binary Ninja, the user interface will navigate to the _start function (AddressOfEntryPoint from the PE header) and display the High Level Intermediate Language (HLIL) representation of this function (Figure 5).
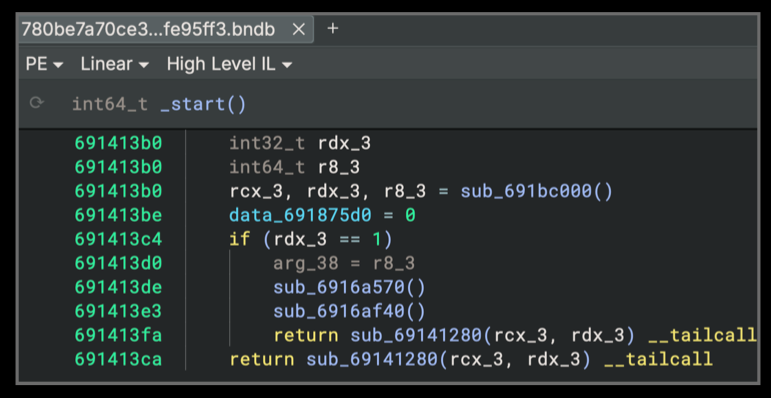 Figure 5. _start Function in HLIL Representation